A laptop stuck on the message “Repairing disk errors. This might take over an hour to complete” can be worrying, especially when you rely on it for work, school, or personal files. This message appears when Windows detects problems on your storage drive and attempts to fix them before the system becomes unusable.
Understanding what this message means and what steps you can safely take helps you protect your data and avoid further damage.
Why This Message Appears
Windows triggers this repair process when it detects issues such as:
- Improper shutdowns caused by forced power-offs or sudden battery drain
- Corrupted system files after updates or software crashes
- Bad sectors are forming on the hard drive or SSD
- Aging or failing storage hardware
- File system inconsistencies due to malware or disk fragmentation
In many cases, the system can fix the problem automatically. But if the issue is severe, the repair may loop endlessly or fail to complete.
What You Should Do Immediately
1. Let the repair run
Interrupting the process can worsen corruption. Keep the laptop plugged in and let it finish.
2. Restart once if it’s stuck for hours
If the repair has been running for an unusually long time (e.g., more than 4–6 hours on an HDD), a single restart may help Windows reattempt the repair.
3. When the Repair Reattempt Fails
If the repair has already run for an unusually long time (typically 4–6 hours on an HDD or 1–2 hours on an SSD) and a single restart did not help, it’s important to identify your actual needs before taking further action. Different goals require different approaches, and choosing the wrong one can reduce your chances of recovering your data.
a) You need the laptop to be bootable and all data available
Your priority is both system usability and data safety. In this case:
- Remove the internal drive from your laptop carefully.
- Place it into a USB enclosure or SATA-to-USB adapter.
- Connect it to another working computer.
- Install a drive‑health tool such as Hard Disk Sentinel to check its condition.
If the drive is healthy, you may re-insert the internal drive and proceed to Step 4. If the drive is unhealthy, avoid further DIY repairs, these can worsen damage and reduce recovery success.
b) You only need the data (not the laptop to boot)
Your focus is data extraction. The safest approach is:
- Connect the internal drive to another computer using an enclosure.
- If the drive is healthy, you should be able to access your files and copy them out.
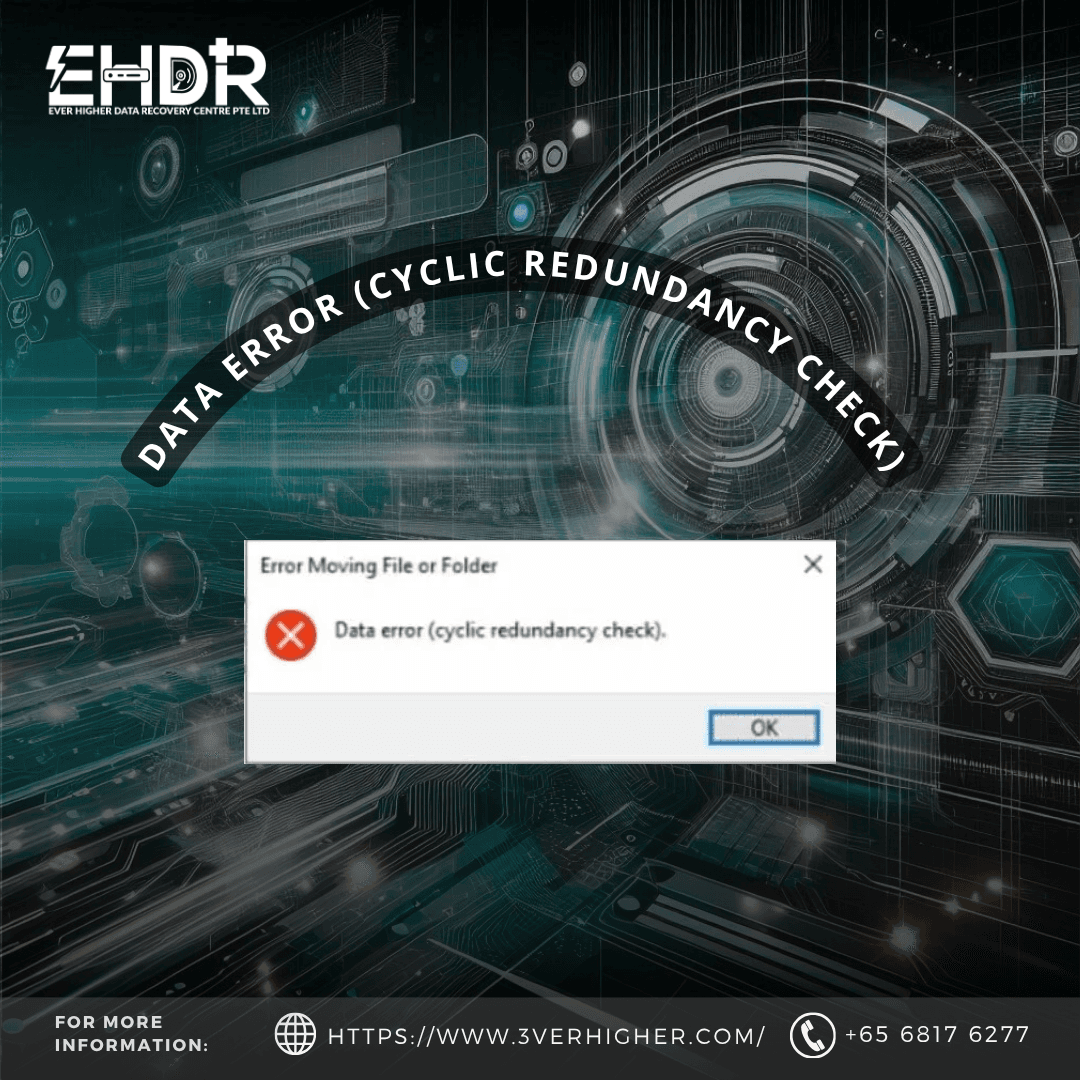
- If the drive is unhealthy, you may find out that the folders are not opening, files are unreadable, the drive disconnects, or the drive is not detected at.
In these cases, stop immediately and seek help from a professional data recovery centre. In this situation, do not insert a new internal drive. Why? Most modern laptops use automatic device encryption (BitLocker‑based). The encryption key is stored on the motherboard. If you replace the internal drive before recovering your data, the original drive may become locked, and you may lose access to your files permanently. So, do not reinstall Windows or replace the drive until your data is safely recovered.
c) You only need the laptop to be bootable (data not required)
If data is not important:
- Proceed directly to Step 4.
- If repairs still fail, replace the internal drive and reinstall Windows.
- This is the fastest and simplest route when data is not a concern.
By identifying your needs first, you avoid unnecessary data loss and choose the safest path.
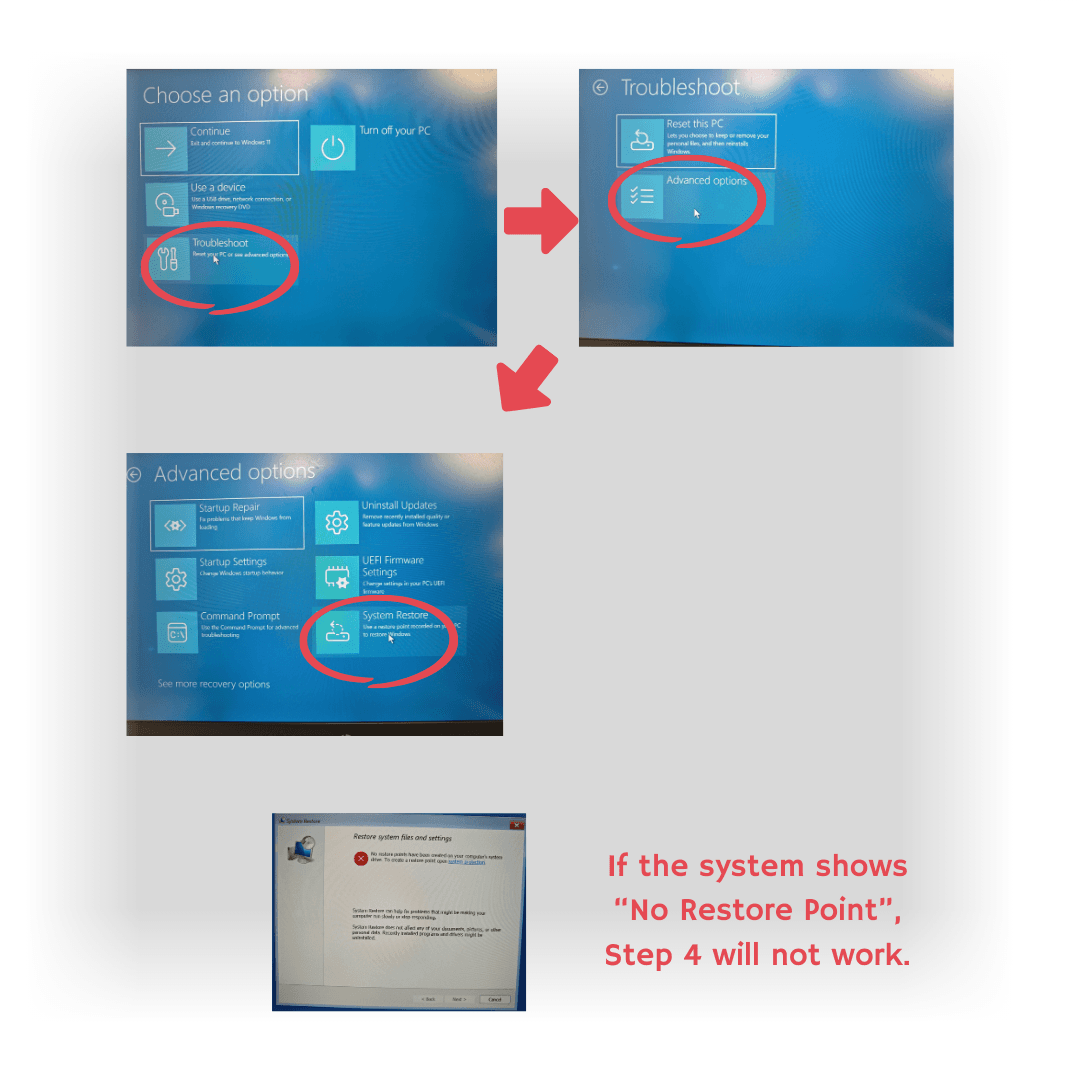
4. Boot into Windows Recovery Environment
Power on the laptop. When you see the Windows logo, hold the power button to force a shutdown. Repeat this 3 times. On the 4th boot, WinRE should appear.
Once WinRE loads, you’ll see the Choose an option screen. Then follow this sequence.
Troubleshot>Advanced options>System Restore>Choose a restore point
You will see Available restore points, Dates and times, and types (manual, automatic, Windows Update). Select one of them, confirm, and start restoring.
Then Windows will roll back system files to the selected version.
Even though many online sources stated that it won’t delete any of the user data. TAKE NOTE that it does not apply to an unhealthy internal storage drive. This is why, for users with important data, it is recommended to check the drive's health before proceeding with these steps.
When DIY Steps Are No Longer Safe
There are situations where continuing to troubleshoot on your own may cause more harm:
- The drive makes unusual noises (clicking, grinding)
- Windows cannot detect the drive.
- The system boots, but files are missing or unreadable.
- You see repeated warnings about bad sectors.
These symptoms often indicate physical drive failure or severe logical corruption. Running more repairs may reduce the chances of successful data recovery.
If your laptop still shows “Repairing disk errors” after multiple attempts, or if the drive appears to be failing, professional recovery becomes the safest option.
Conclusion
“Repairing disk errors” is more than just an inconvenience. It’s a warning sign that your storage drive may be in trouble. While Windows can sometimes fix the issue, repeated failures or unusual symptoms should not be ignored. Acting early protects your data and prevents permanent loss.
EHDR, We Leave No Data Behind.